The Spice Lab: Ghost Pepper Crispy Oven Fries

IMAG0536

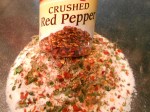
The myth. The legend. The Ghost Pepper.

I have heard about the Ghost Pepper and even seen people taste it but their reaction was always to the intense heat with very little to report on taste. Scary stuff. I’m a girl that loves heat and spice but I want flavor too. My best description is that this pepper tastes like a non-latin red pepper, but with attitude. The notes are actually good and intense but end with a touch of smokiness. Not like a chipotle or a poblano, so there is where I come off with the “non-latin” description. It’s good……like, really good. After I tasted the salt as-is, I not only respected Mr. Ghost Pepper but could not wait to try it in a recipe. But wait for me to get some more water 🙂

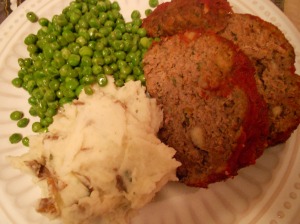
Potatoes are usually bland so I felt they were the perfect pairing, plus I am always in that race to use up every Russet potato I purchased in the bag because then what I paid is not a super bargain. These fries are simple to make and only take 25-30 minutes to cook. You are left with crispy and I mean extra crispy fries from the oven. I am not overstating that here, because I have tried so many oven fries recipes and ended up with floppy sticks….no flop here.

Let’s get started…..

  • 3 to 4 Russet Potatoes (washed but with peel….I said this was easy)
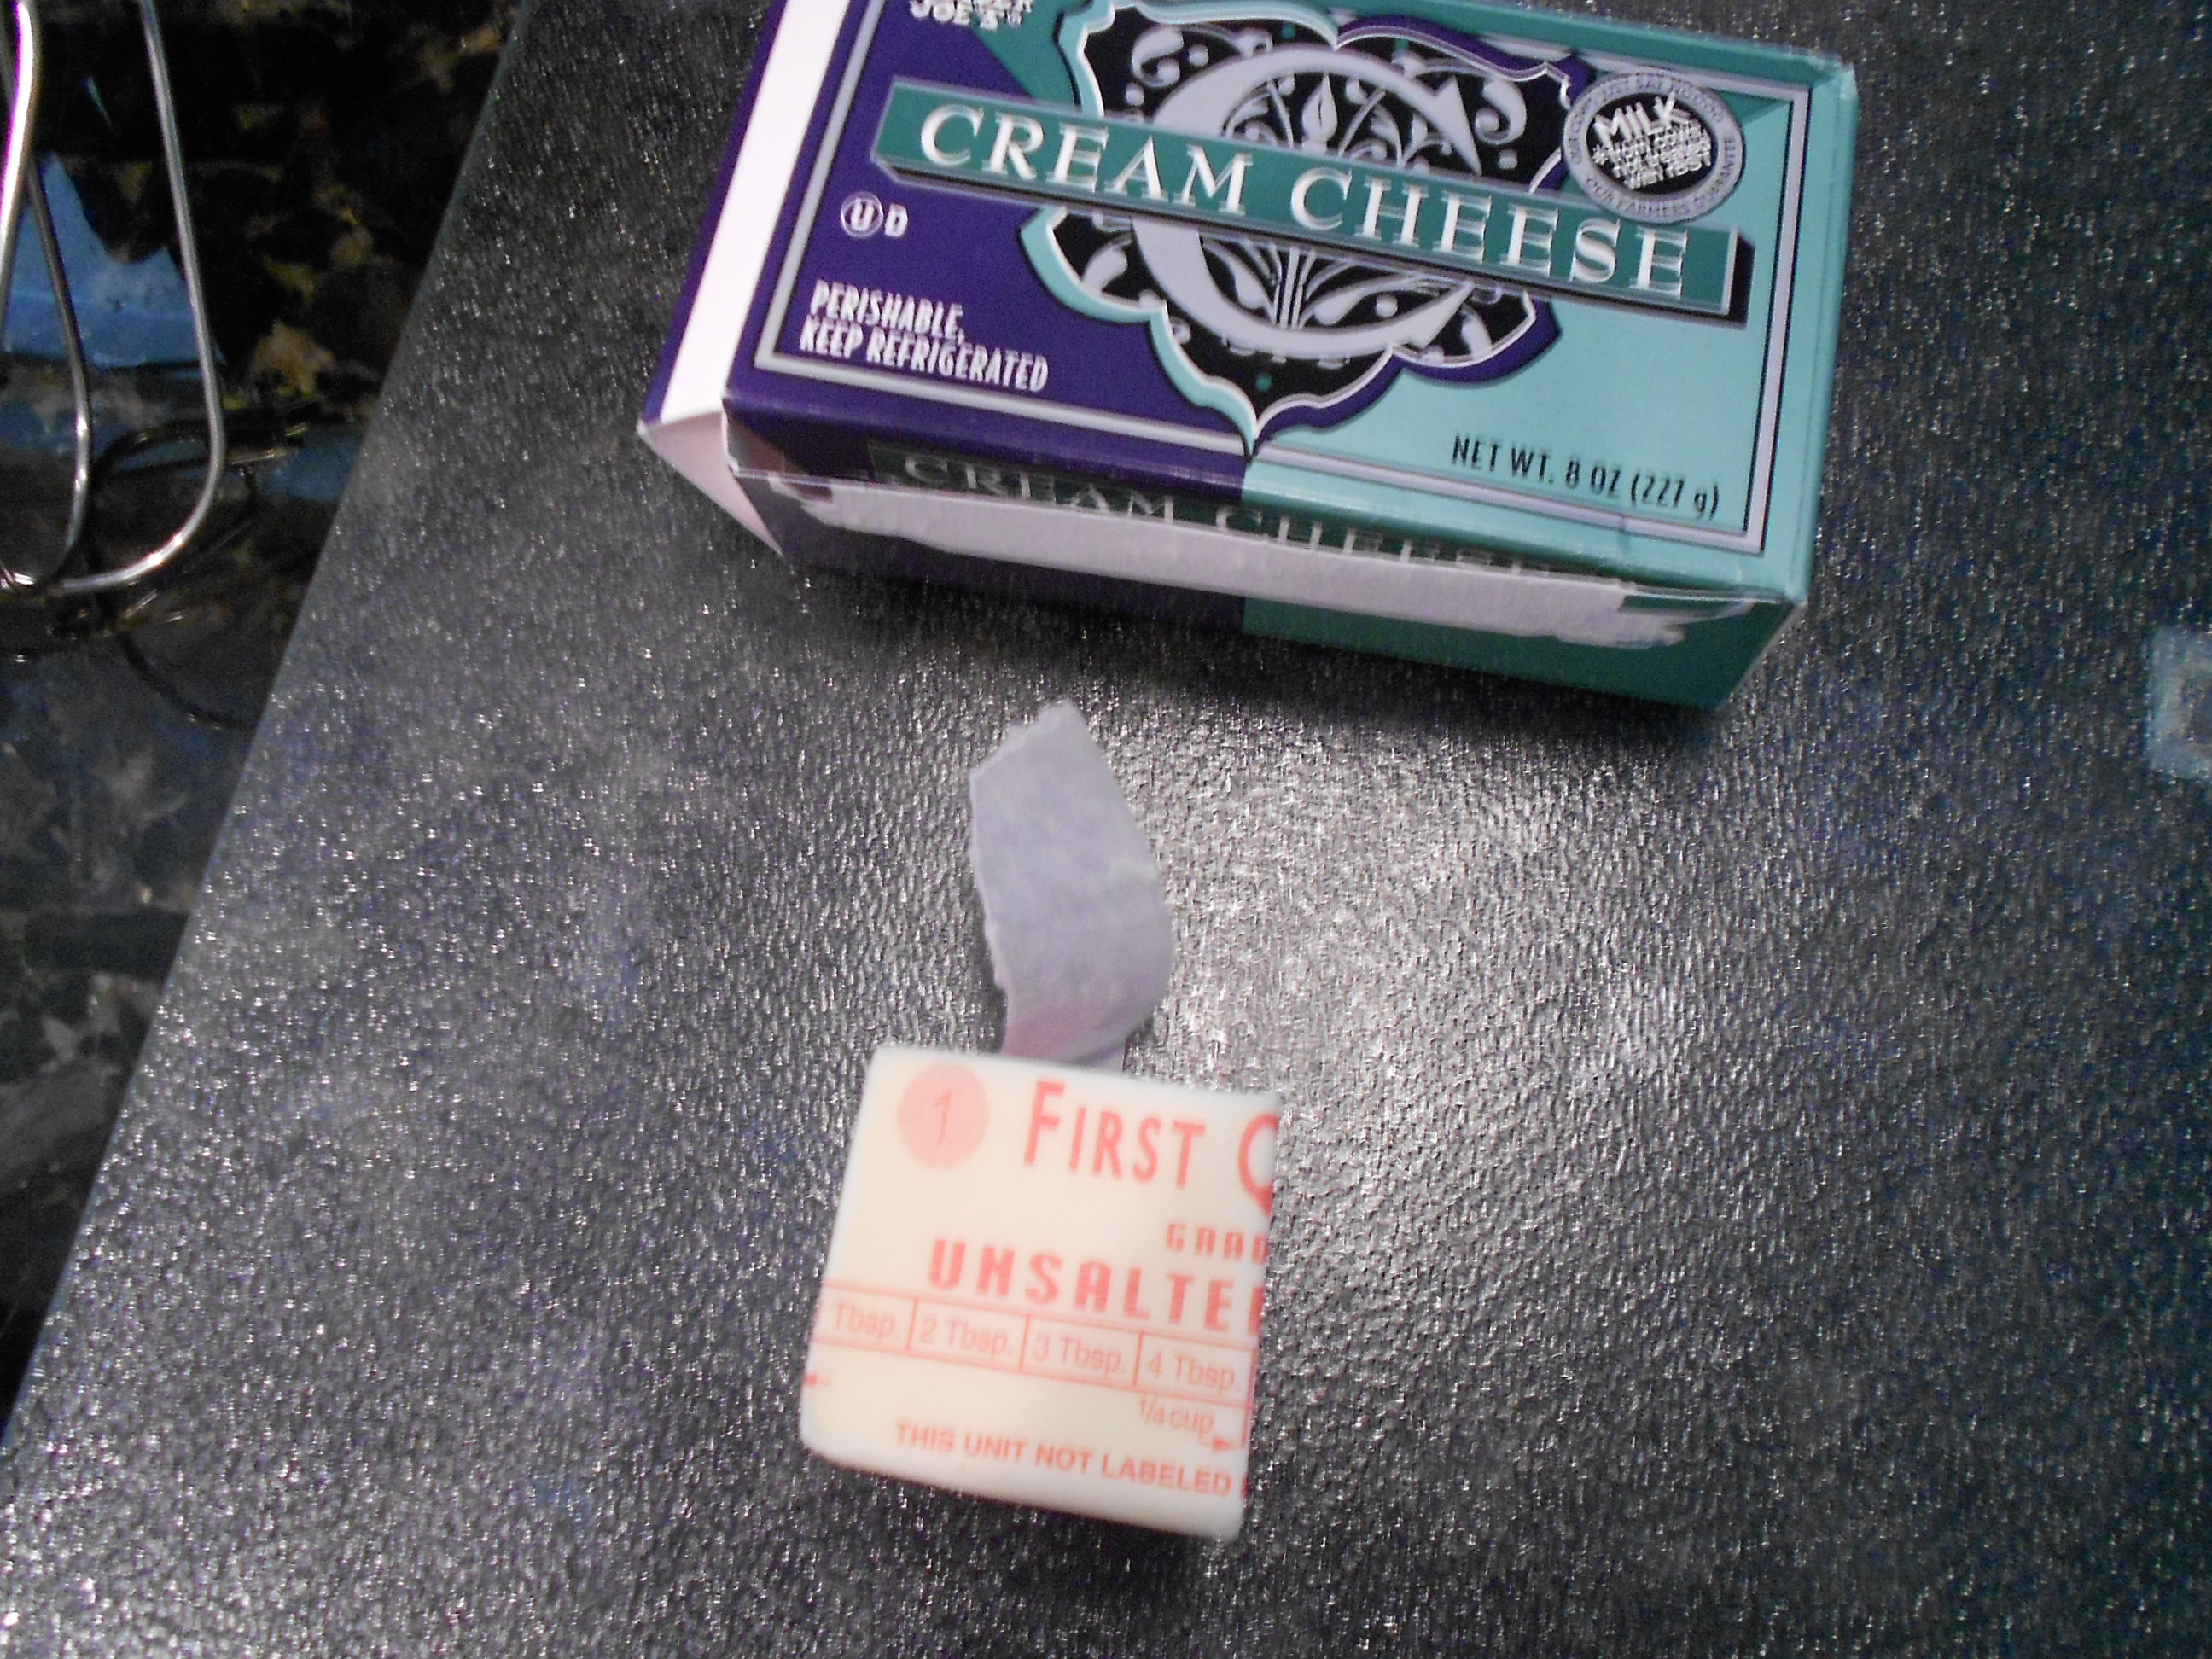
  • 1/8 cup of Pecorino & Romano cheese blend (grated and if you just have Parm, that will do)
  • 1/8 cup of All-Purpose Flour
  • 1/4 cup of White Rice Flour
  • 1/8 teaspoon of Onion Powder
  • 1/8 teaspoon of Granulated Garlic
  • 1/4 teaspoon of Oregano (dry)
  • 1/4 teaspoon of Parsley (dry)
  • 1/8 teaspoon of Dill Weed (dry)
  • 1/8 teaspoon of The Spice Labs Ghost Pepper Infused Salt (or more if you dare 🙂 )
  • Smoked Salt (to taste) and I used The Spice Labs Applewood Smoked Salt
  • Black Pepper (to taste)


  • Baste- 1/4 cup of Buttermilk and 1 tablespoon of Peanut Oil (or a oil with a high heat point of your choosing). I find Peanut Oil gives me the perfect crisp!

IMAG0525

Cut your potatoes into fries and soak them in cold water for an hour, just make sure to change the water about 3 times. Removing the starch helps aid with the crisp factor.

IMAG0524

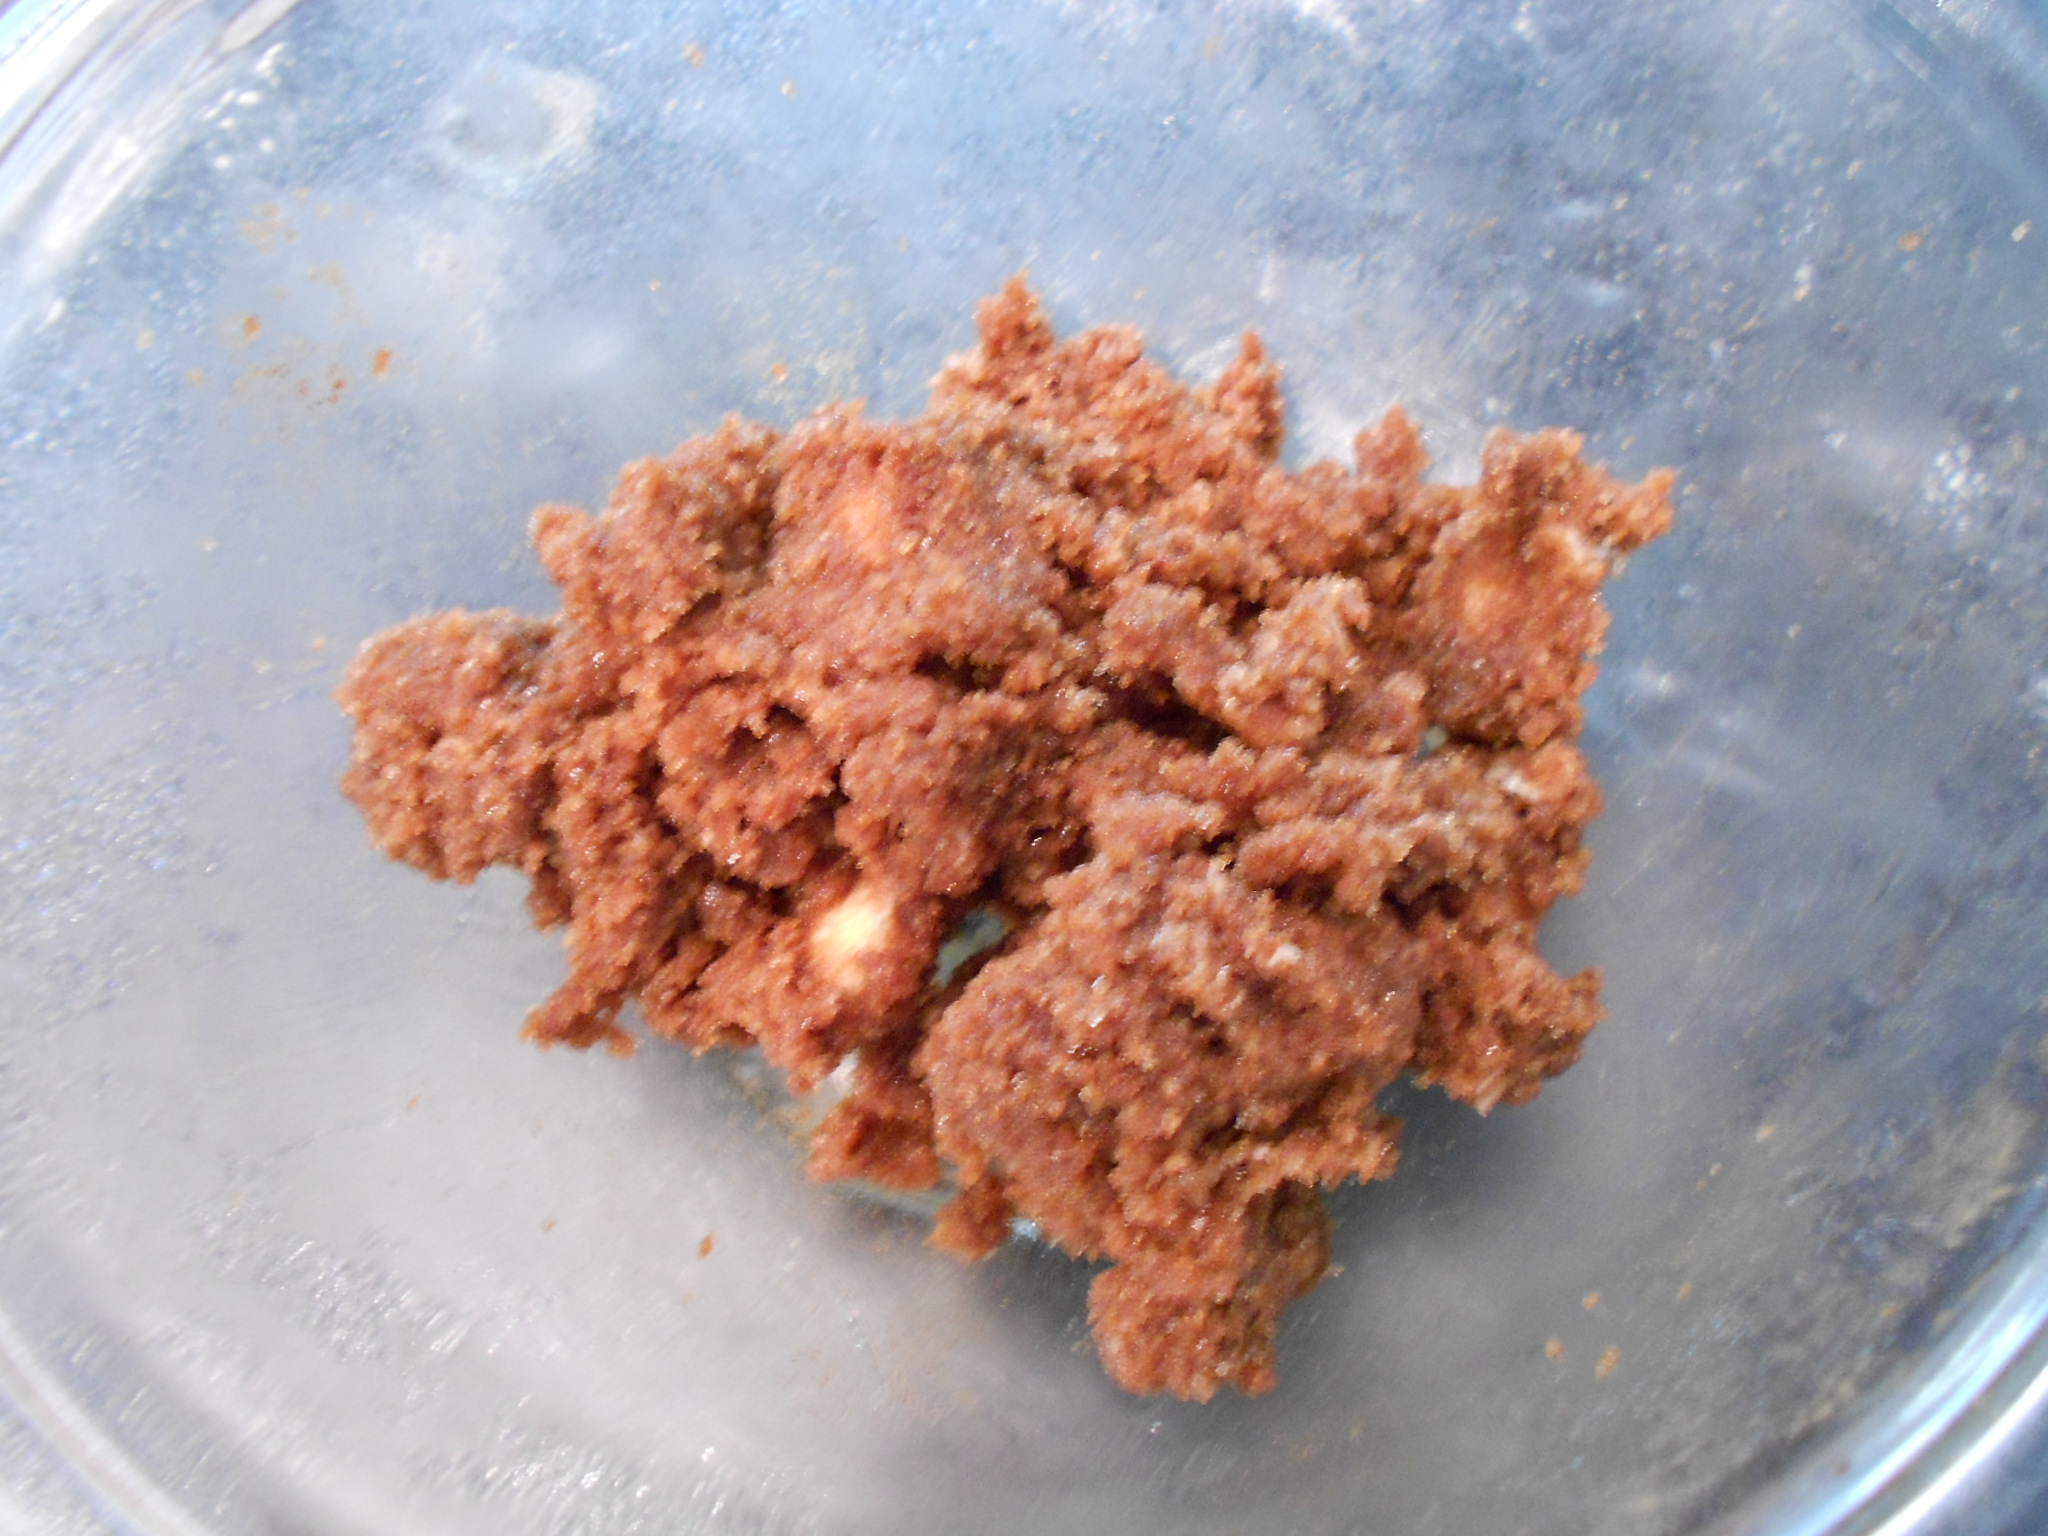
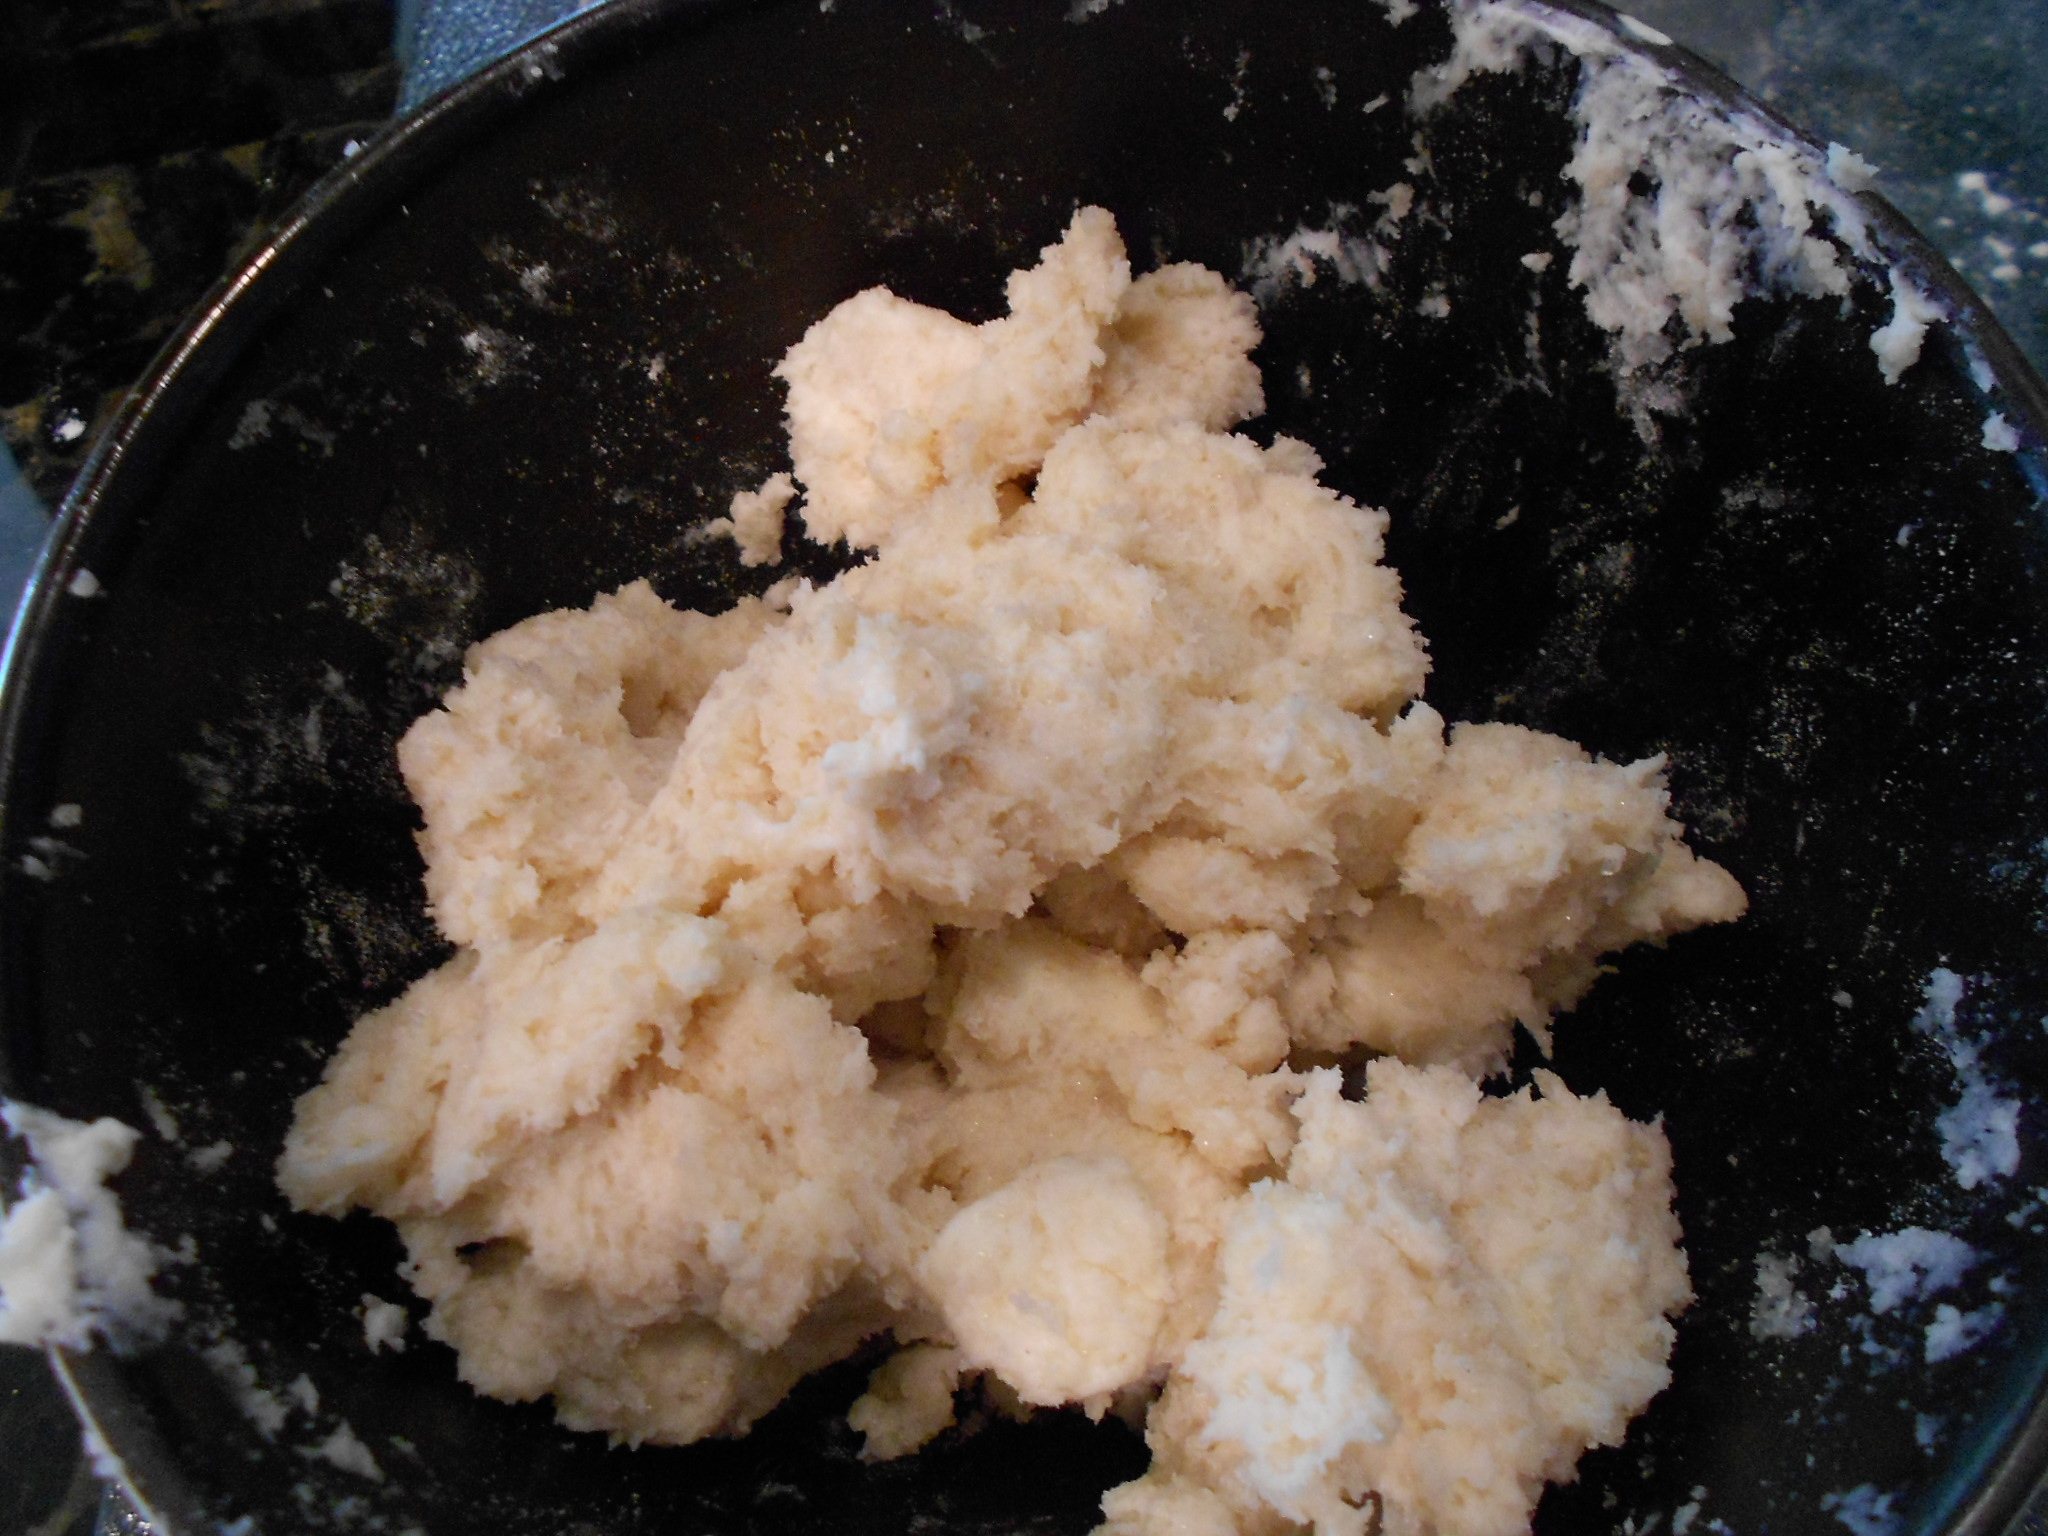
Take a bowl and just add all the above dry ingredients and mix, then set aside.

IMAG0527

Once the hour passes of your fries swimming in water, I spin them in a salad spinner to dry them. Patting them with paper-towels until completely dry works too.

IMAG0526


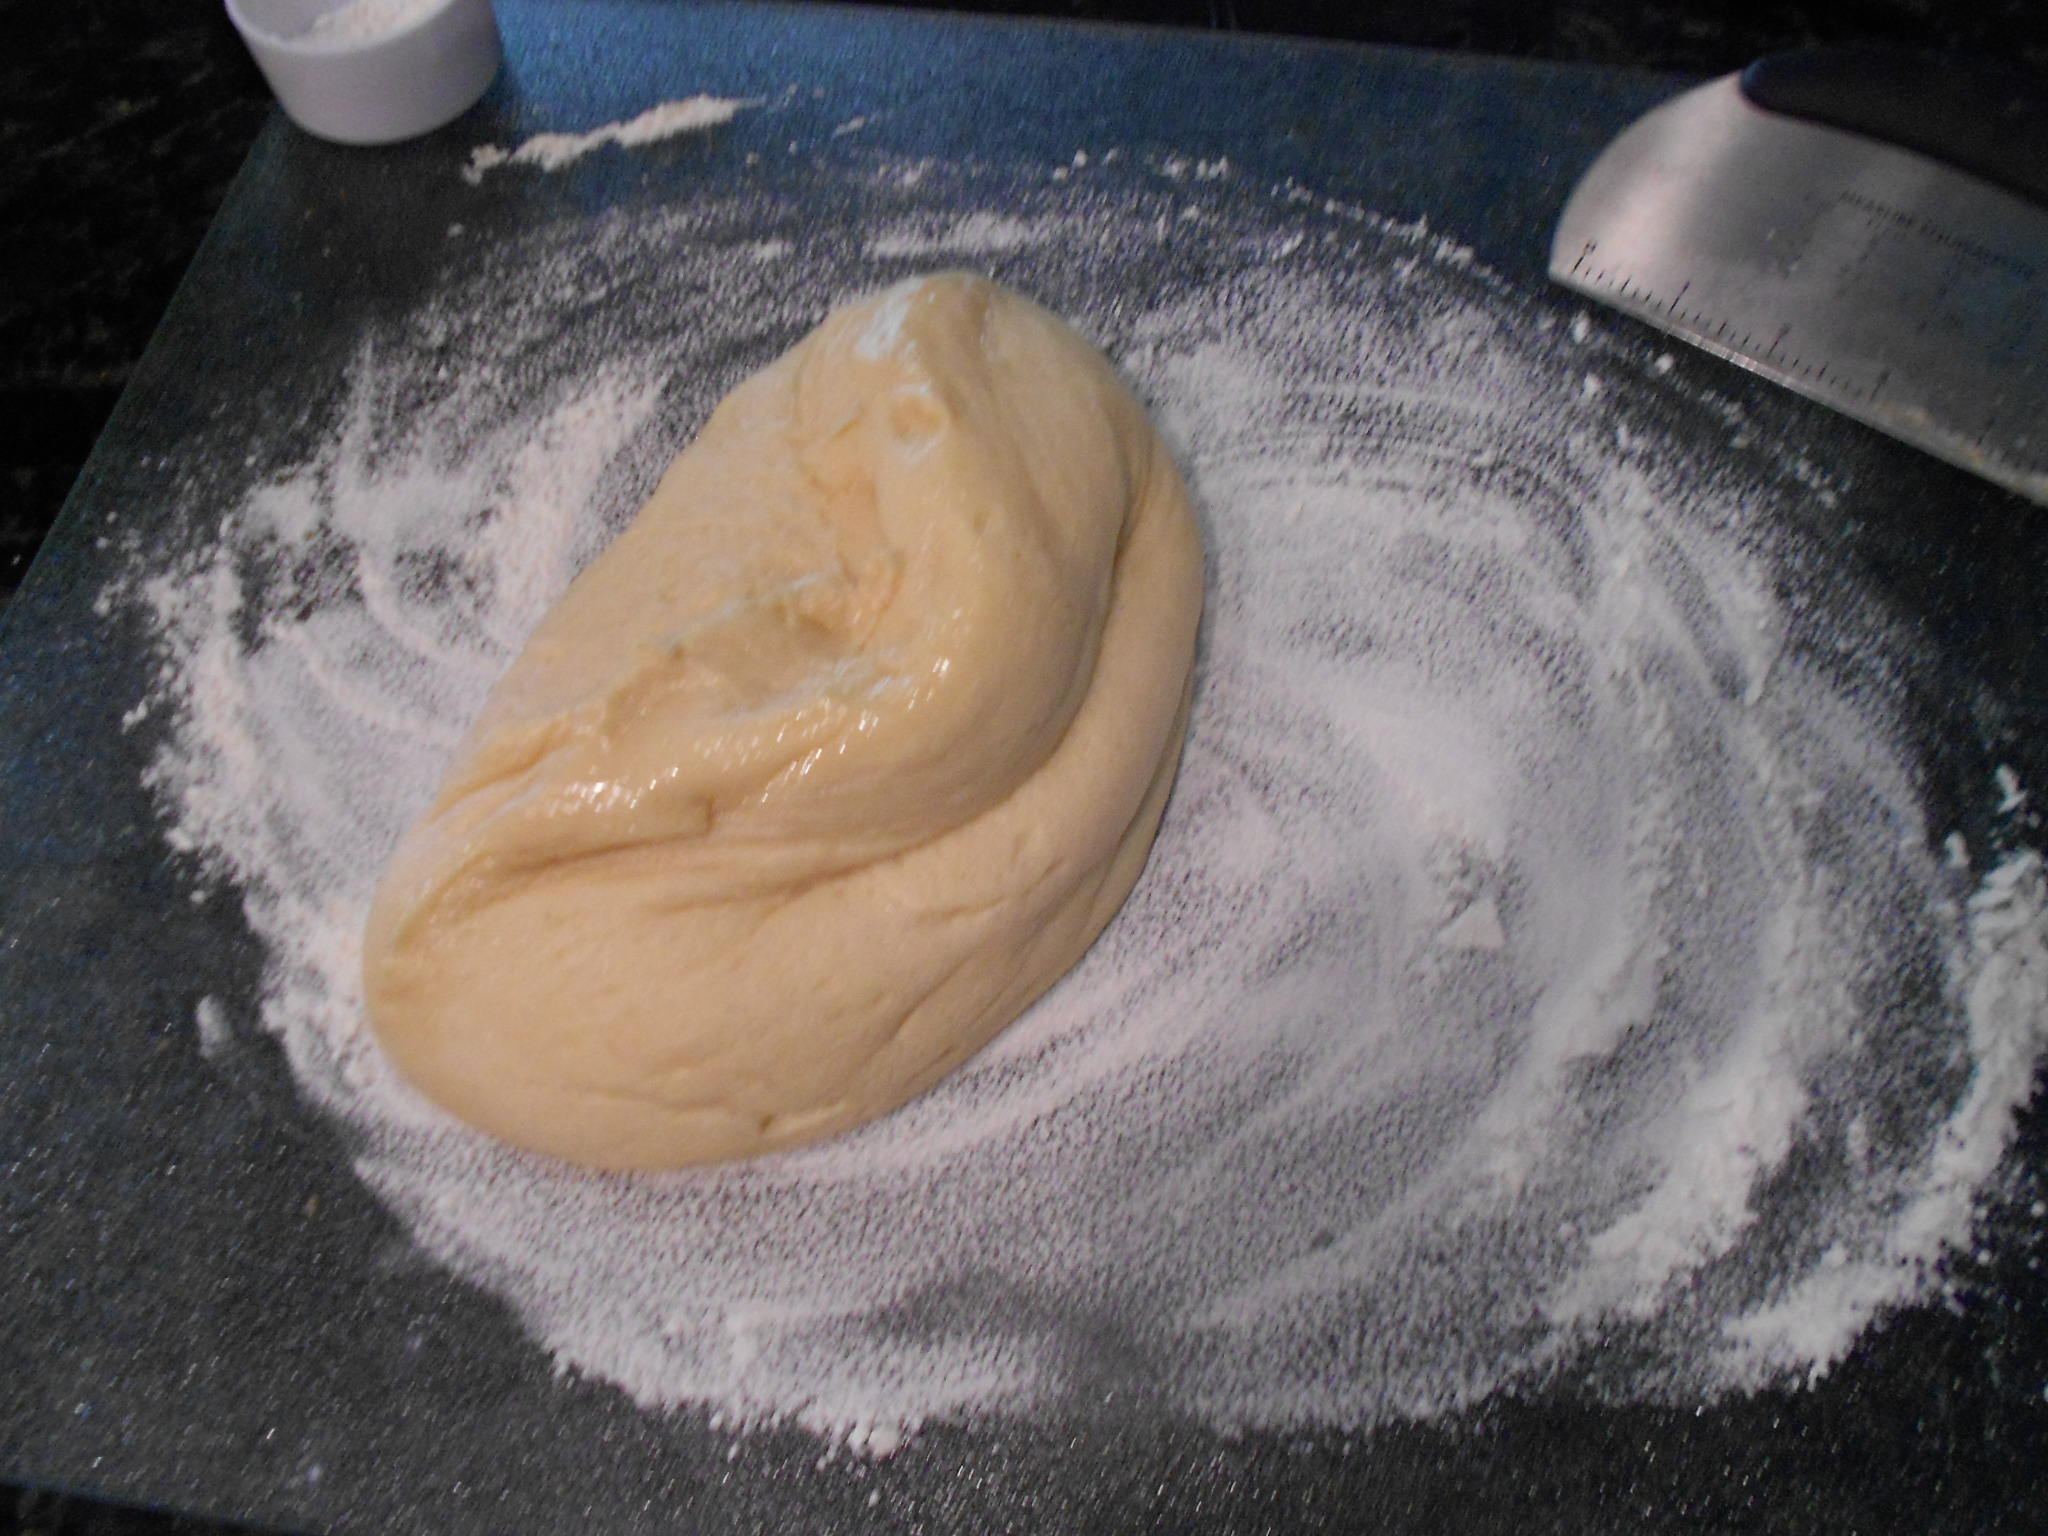
Place the fries in a bowl and allow them to bathe in the 1/4 cup of Buttermilk. You will think a 1/4 cup is too little but as long as you come by and give them a stir, you will see that it covers nicely without waste. If you feel your bowl needs more Buttermilk, feel free to add more because this is just for the fries to soak in it for 30 minutes. Once the fries have been basting in the Buttermilk for 30 minutes or so, add the Peanut Oil and toss making sure to coat the potatoes well.

Turn on oven to 425 degrees. I used the convection setting.

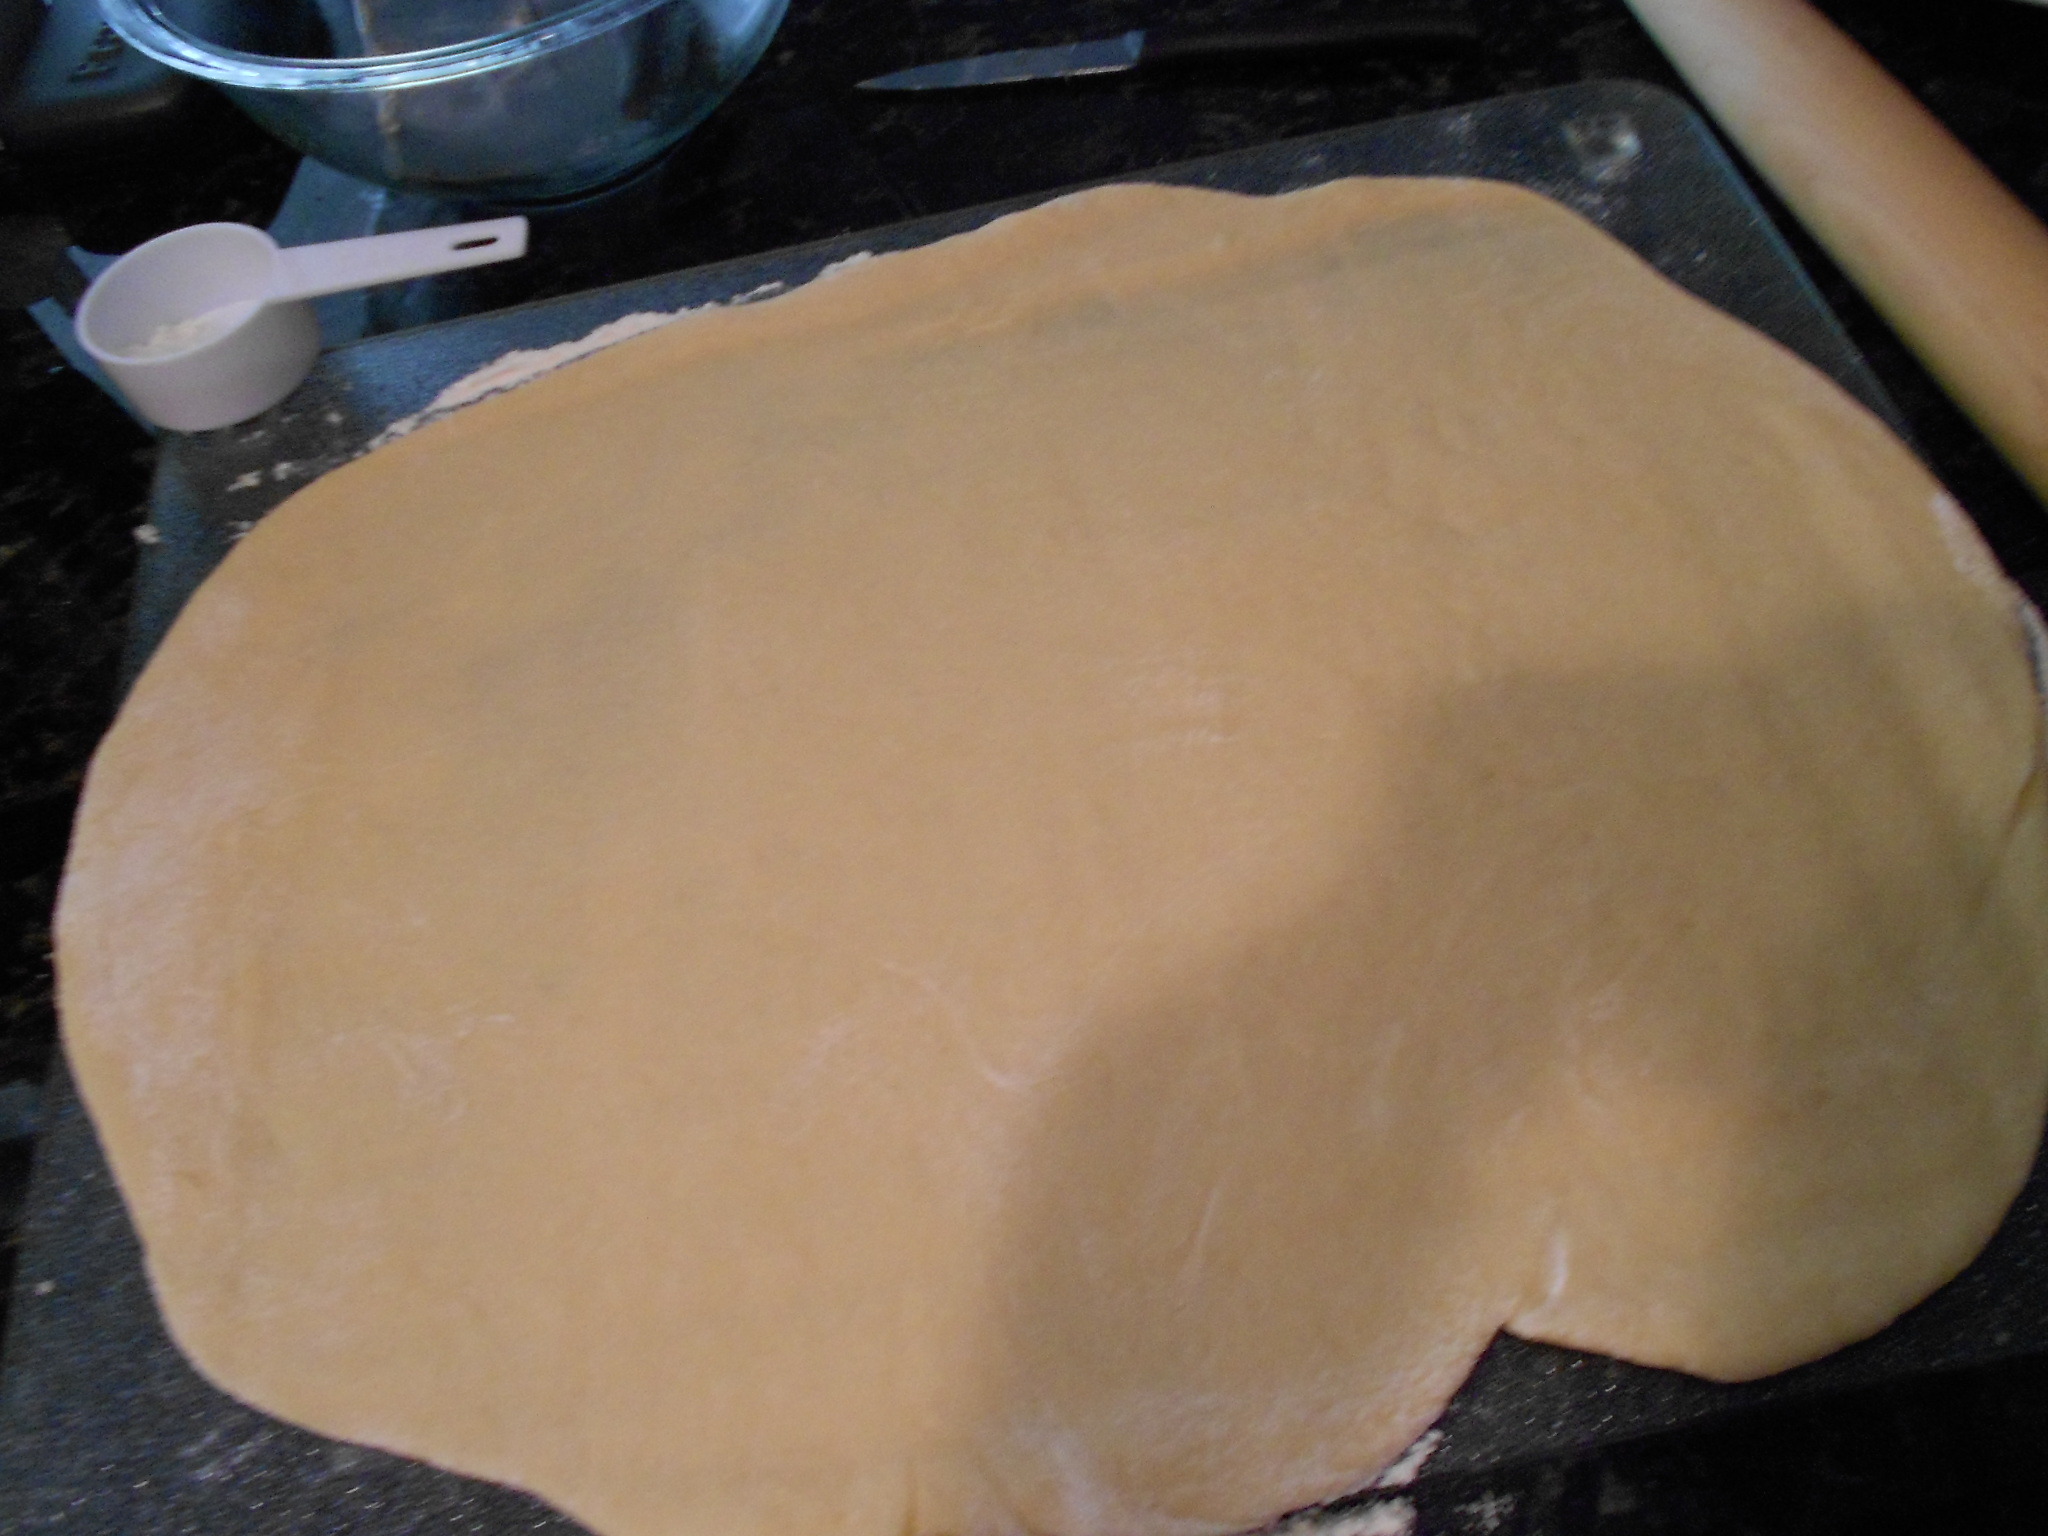
Then comes the dunk! I take the fries by the handful (leaving whatever Buttermilk/Peanut Oil that did not soak up behind) and dump them in the batter. I make sure each fry gets a nice crust adhered to it and then place it on parchment paper.

It took me two pizza pans (the ones with holes) to get all my 3 potatoes to fit. I spaced them enough and in the oven they went for 25 to 30 minutes. At the half-way point, I made sure to get them out and give each fry a flip, so it would cook evenly. If you cut your fries bigger, they may need a little more time to finish but always taste-test to know if they are done.

IMAG0534


IMAG0535

These fries are crisp and have heat, so I paired them with a dip and chose a Caesar dressing! It’s yogurt based and went really well with them, plus saves you from the heat when needed.

IMAG0516


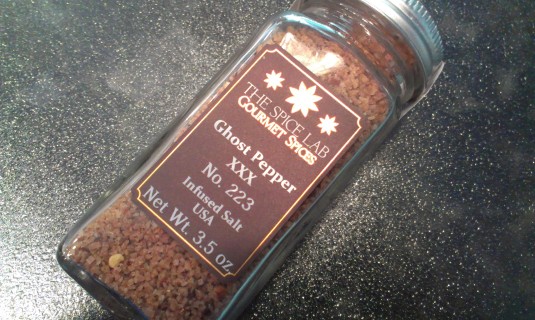
Get Your Ghost Pepper kick and many others at:

  • The Spice Lab On-line– http://shop.thespicelab.com/
  • Via Facebook– https://www.facebook.com/TheSpiceLabInc
  • Twitter– https://twitter.com/TheSpiceLab

IMAG0520

Don’t forget to pick-up their wonderful Applewood Smoked Salt too and they carry so much, you will get lost in Spice Lab’s World!

IMAG0515

I received the above products free of charge from The Spice Lab.  I am not obligated to provide a positive or favorable review, just my honest opinion.  My review is based on my experience with the product and/or brand, which may differ from yours.


Baking: Hawaiian Bread Loaf Recipe, Aloha Bread

DSCN4567

Being tired of bread that reads like a science experiment gone wrong, I now just resort to baking at home. My experiments, at least when they fai,l are not filled with chemicals and the dog has benefited from a few “oopsies”. Thankfully, this is not one of them and it’s very easy to make….you don’t even need a dough hook.

IMAG0399

Hawaiian bread is suppose to have a little tropical flair with a touch of sweetness from the Pineapple Juice and is usually a nice soft texture. I love making ham sandwiches with it but also just eating it with a little butter.

Let’s begin….

You will need:
3 cups of All-Purpose Flour (I use Bob’s Red Mill), plus

  • 1/4 cup of All-Purpose Flour (to be used after the dough rises)

1/4 teaspoon of Kosher Salt
2 Eggs (room temperature)
1 1/4 cups of 100% Pure Pineapple Juice (I used Langer’s Pineapple Juice), and at room temperature
1/4 to 1/2 a teaspoon of Vanilla Extract (depends on your taste)
5 tablespoons of White Sugar
2 1/4 teaspoons of Active Dry Yeast
4 1/2 tablespoons of Unsalted Butter (melted), plus

  • 1/4 tablespoon of softened Salted Butter (to grease the bowl the dough will rise in) and another 1/4 for the final rise and to grease the dish you will be baking in.

First mix your wet ingredients, this would be eggs, pineapple juice, vanilla, butter and white sugar in one bowl. Then in another bowl mix your 3 cups of flour, salt and yeast. Using the mixer with the paddle attachment (or by hand with a spatula), start incorporating the dry ingredients to the wet. I usually do it by hand using a spatula and you will get a sticky dough that is ragged looking. It takes me about 2 minutes by hand to accomplish this. If the dough looks too dry, add a little more pineapple juice. If the dough appears too wet, start by incorporating a little flour until you are left with a moist dough that does not have a over sticky appearance/feeling.

I then allow the dough to rest one hour in a buttered bowl that is big enough to allow it to double in size. This is where I use the 1/4 tablespoon of Salted Butter and it helps keep the dough moist but also does not let it adhere to the bowl.

After the dough doubles in size, I flour the surface and dump the bread dough to start incorporating the 1/4 cup of flour. I begin to first punch down the bread and then slowly knead it for a minute and until the flour is incorporated. I just keep folding in until I get the right texture and if it’s too moist, I slowly add a little more flour if needed. I then take the 1/4 tablespoon of butter and grease the loaf pan I will be baking in. I add the dough and again allow the bread to rise for about an hour, or until it doubles in size.

Set the oven to 350 degrees and bake for 30 to 35 minutes, or until the top is golden brown in color. I then take the bread out and allow it to cool 15 to 20 minutes and pop it out of the pan to further cool down. I give it a couple hours and then start slicing and enjoying. This bread makes great panini style sandwiches and I love how it also toasts up. Get creative and enjoy!

Beautiful Nooks and Crannies in the Bread!

Beautiful Nooks and Crannies in the Bread!

Note- My recipe uses 100% Pineapple Juice that has no added sugars or sweeteners. I feel Hawaiian bread has a touch of sweetness but should not start off being a dessert style bread. It’s suppose to be versatile and this why I control the sweetness by adding my own sugar and adjust my vanilla to fit my tastes or future uses.  You can also make buns for sliders using this recipe, versus just a loaf 🙂

Panini Ham Sandwich I made with the loaf.

Panini Ham Sandwich I made with the loaf.

Tribes-A-Dozen: Voila! Hallah Bread Mixes, Wholey Wheat & Traditional Review

DSCN4129

As a baker, I tend to always resort on made from scratch methods because of all the unkind ingredients in mixes. You want to reward your family with a treat and not necessarily a lab experiment.

In comes, Tribes- A-Dozen bread mixes, which are friendly on the ingredient list and a cinch to make. You have Challah breads made the traditional way, to wheat and simply spelt. I enjoy egg based breads very much but dislike having to purchase so many eggs that tend to take space in a fridge, until I get started on my project. With Tribe-A-Dozen, you use 1 large egg and 1 egg yolk. This leaves me with an egg white for next day’s breakfast, so it all works out nicely. The ingredients are the main focus for me because they are simple and recognizable.

DSCN4130

The wheat mix has Organic Grain Wheat flour, brown sugar, turbinado sugar, sea salt and organic flavor.

You get everything in one box, the yeast and the mix itself. You just add water, eggs as directed and then vegetable oil and honey. A little flour to for the board or you can also use oil if you want. I like options! You also have varieties to choose form (get creative) in making these mixes personalized by adding nuts to dried fruits, or even topping with a seed variety of your choice. One box yields 1 large loaf, 2 regular sized loaves or if you need buns, you can make 8 rolls in less than 2.5 hours!

My first try was a success and I kept checking the box because I felt it was a bit too easy that I was missing something. I was able to cook a nice dinner while baking my wheat Challah bread and it was less of a mess but not breaking tradition. I never have tasted wheat Challah and we mostly make traditional style because we love it on burgers to just plain by itself.

After the bread rises, you then dust your board with flour and divide as you wish.  I decided to go with 2 smaller loaves and one I did a traditional braid and the other I tried for a 4-strand braid.  I also opted to use sesame seeds and poppy for my personal touch.

DSCN4356

You then just stick the breads in to rise for for 45-minutes more and at the 30 minute mark, you start preheating your oven at 350 degrees.  You bake your beautiful creations for about 25 minutes.  Mine were ready in 22 minutes!

DSCN4358

I was very happy with the results from start to finish.  The wheat bread is moist and I did enjoy the flavor but I am more of a traditional gal and prefer the traditional mix they offer, plus I can’t pass up the great sandwiches it makes!  Goes great with any meal, even a Meat Loaf!  Give them a try risk-free with a satisfaction guarantee on every box!

DSCN4132

DSCN4364

You can purchase Tribes-A-Dozen mixes on-line or use the store locator to get your hands on a box:

  • On-line- http://tribesadozen.com/buy-tribes-voila-hallah-egg-bread-mixes/
  • FaceBook- https://www.facebook.com/TribesaDozen
  • Twitter- https://twitter.com/tribesadozen
  • Purchase via Amazon- http://www.amazon.com/gp/browse.html?ie=UTF8&marketplaceID=ATVPDKIKX0DER&me=A1N9ZRECBL4I2G

or

**You can enter to win your own Tribes-A-Dozen mixes by completing 3 small Tasks**

  1.  Please “like” Tribes-A-Dozen on Facebook 
  2. Follow Tribes-A-Dozen  on Twitter (@TribesADozen)
  3. Please post a comment on this review and that is it 🙂

 Previous winners of Tribes-A-Dozen giveaways are ineligible. Continental U.S. entrants only please 

I will announce the lucky winner on March 3rd!!!

I received the above product free of charge from Tribes-A-Dozen.  I am not obligated to provide a positive or favorable review, just my honest opinion.  My review is based on my experience with the product and/or brand, which may differ from yours.

Bob’s Red Mill: Herby Cheese Crackers made with Rice Flour, Gluten Free #MeatlessMonday

DSCN4421 Going with my Meatless-Monday dish, I decided to pair up my soup with a nice Gluten Free option, Herby Cheese Crackers. I used a mix of Gouda and Parmesan, however I have made these with a white cheddar cheese and plain sharp cheddar varieties. The cracker’s texture will vary by the cheese you use! I make sure to stick to a good quality cheese because the recipe only requires 2 ounces and I have had unpleasant experiences when a cheap cheese (this is not always connected by what you pay) that has oozed tons of oils and fats. No one wants an oily cracker….I want flaky with a nice crumble. Let’s Begin!

Dough:

  • 2 Ounces of grated Sharp Cheddar Cheese or a cheese that has a close enough moisture content. You can use a semi-soft and pair it with a freshly grated harder cheese too. Allow the cheese to come to room temperature (after you grated).
  • 2 tablespoons of Unsalted Butter (softened)
  • 1/2 cup of Bob’s Red Mill Rice Flour
  • 1/4 teaspoon of Baking Soda
  • 1 teaspoon of herbs (I mixed dried herbs with fresh)
  • Salt and Pepper to taste (taste your cheese to measure saltiness before adding salt)
  • *Optional- You can add Red Pepper Flakes, Smoked Paprika even a dash of Cayenne Pepper. You can also crumble pre-cooked bacon or pancetta to change the flavors.

In a medium sized mixing bowl, combine the Rice Flour, baking soda and herbs. I used dried parsley, thyme, tarragon and oregano. My plants have been blooming well in this mild Winter we have been having in California, so I used some fresh sage and thyme to make a 1 teaspoon’s worth with the dried herbs. Add your salt and pepper. I used a smoked salt for additional flavor and a pepper medley variety. I also included (optional) a dash of smoked paprika, a dash of red pepper flakes and also a small dash of cayenne to give the crackers some kick.

In another bowl, grate your cheese. I used a semi-soft gouda and a grated hard cheese variety of mixed parmesan and romano. DSCN4382 Add the cheese to your flour mixture and then incorporate the softened unsalted butter to the mix. I do not want to smell crackers on my hands all day so I use a glove to pretty much make a ball. Want a different way? Cream the butter and cheese in your with your mixer and add the flour mixture after. If the mix seems dry, add a 1/2 teaspoon of water. You do not want a super moist dough as this dough will rest and re hydrate in the fridge, plus we are making crackers and not bread. I usually rarely add water and just keep gathering the crumbs around until they play nice 🙂 DSCN4383 DSCN4388 Using plastic wrap, create a log that is almost 11 inches long. You can decide how large you want the crackers but since I want to have mine swim in my soup, I always go small. DSCN4390 The log can be shaped and in this case I used the assistance of a wooden chopstick to make a crease, which will then help me work these into a heart shape. You can just go square or even round….or we can also have fun and create and abstract shape!

Allow the dough to rest in the fridge 20-30 minutes if you need to shape after, or 40 minutes if you will be just slicing and baking. Heat your oven 350 degrees. Take the dough out and you can I usually slice half a log and return the other half to the fridge while the first batch bakes.  I used the chop-stick to help refine the heart shape too.

Bake the crackers for about 10 minutes and then cool. DSCN4409   You then bake the other half and these go great with soup, salads, or just by themselves. Enjoy!

Find out more about Bob’s Red Mill products at:

  • On-line– http://www.bobsredmill.com/
  • Twitter– https://twitter.com/BobsRedMill
  • Facebook– https://www.facebook.com/BobsRedMillNaturalFoods
  • Pinterest– http://www.pinterest.com/bobsredmill/
  • Save with a $1.00 off coupon– http://www.bobsredmill.com/get-a-coupon.html

DSCN4154 I received the above product free of charge from Bob’s Red Mill.  I am not obligated to provide a positive or favorable review, just my honest opinion.  My review is based on my experience with the product and/or brand, which may differ from yours.

BzzAgent: Filippo Berio® Extra Virgin Olive Oil

DSCN2597

Not all oils are created equal and I have learned this through trial and error. As with many foods, companies add fillers or even combine oils to create a lesser quality product but still charge consumers a price point that makes you think it equates with quality.

Been there and done that…..and this is why I hold Filippo Berio’s oils on a whole different level.

I received an Extra Virgin Olive Oil bottle from BzzAgent along with all the great campaign goodies they include. You have the booklet, which educates you about the benefits of Extra Virgin Olive Oil and how it can improve not only your dishes but your health. Great coupons and even a magnet that reflects the measurements you use when substituting Olive Oil for Butter. Great kit and I love it!

DSCN2587

Filippo Berio’s company exports their oils from Italy and has been sharing their great products since 1850.  Now, that is staying in business for a long time and you know you have to be doing something right if you want people to support your products.  The company makes several versions of Olive Oils from Extra Virgin, Light, and also makes vinegar (balsamics) and other products like olives and pestos.  Their distribution is massive and they now reach over 65 countries!  Now, that is reaching the masses!

DSCN2588

The Health Benefits:

Extra Virgin Olive oil is better for you because it contains no trans fat or cholesterol.  Butters commonly used in savory cooking contain salts and Olive oil does not.  You have an oil that is high in monounsaturated fats, which is commonly known as “the good fat” that doctors want you to eat.

DSCN2586

What is the difference between the Extra Virgin and just Olive Oil:

  • Virgin means the oil was produced by the use of physical means and the oil was not treated with any chemicals.  It also means the oil is produced from the “first batch” that the seed/grain produces.
  • Refined means that the oil has been chemically treated to neutralize strong tastes (characterized as defects) and neutralize the acid content.  Chemicals are many times used in lower quality oils as way to preserve and slow down the oxidation that occurs with age.  Refined oil is regarded as lower quality product.  Oils with the retail labels extra-virgin olive oil and virgin olive oil cannot contain any refined oil, as it would not be Virgin if anything else was added.
  • Olive Oil Pommace or Pomace, means oil extracted from the pomace using solvents, mostly Hexane.  Hexane is a carbon based chemical found in glues to gasoline.  Manufactures combine the Hexane and heat to extract from the seeds the oil.  Hexane has a low toxicity level, but nonetheless many industries that use the chemical in their processing, are seeking alternatives due to the adverse health effects.

What the above means is that it all comes down to purity and acidity levels.  Every oil has it’s purpose and this is why learning about them is something I like to do because I don’t want to pay for a lower end product, much less one laced with chemicals my body does not want or need.  Think about it like chocolate and cacao content…..it’s the same mind set.  Don’t let the labels fool you and I also try to stay within the brands I can trust because many good manufactures will not distribute to the public, a lower quality product.

DSCN2592

Now, Extra Virgin Olive oils have a lower smoke point and this means that the oil will smoke and destabilize with higher temperatures.  You may have heard people say it’s a waste to fry in Extra Virgin Olive oil because of it.  I like to do something I call “lacing”, it’s making my own mixes of oils as I see fit for the dish I am preparing.  I use different oils like Grape because the oil has a higher smoke point.  I decided to get creative and used a mix of Grape Oil and Extra Virgin Olive Oil and of course Filippo Berio’s brand.

  • Olive Oil Braised Chicken Legs with a Roasted Garlic and Herb Stuffing

DSCN2498

DSCN2535

  • Foccacia Bread with Parmesan Cheese

DSCN2532

I received the above product from BzzAgent and Filippo Berio.  I am not obligated in providing a positive/favorable review, just my honest opinion.  My review is based on my experience with the product, which may differ from yours. #GotItFree

Triple Berry Sweet Rolls with a Cream Cheese Crumble top, plus Cinnamon Rolls with Cream Cheese Icing

You read right, this recipe yields two different types of sweet rolls to enjoy!

DSCN2710

DSCN2705


As the days get warmer, the berries have been hitting the sale’s block. I am finding great deals so it has been a very berry-full Summer so far. Today’s recipe uses fresh strawberries and frozen blueberries and blackberries. You can go all frozen or all fresh and change the fruit to your liking too.

We start with the Yeast Dough:
2/3 cup of Sugar
1 cup of Milk
1 1/2 tablespoons of Active Dry Yeast
1 stick of Unsalted Butter (softened)
2 Large Eggs at room temperature
1/2 teaspoon of Salt
4 1/2 cups of All-Purpose Flour
1 1/2 tablespoons of Dry/Powdered Milk

I use a microwave or you may also use the stove-top to warm the milk to 105 degrees. You then pour the warmed milk into a mixer’s bowl, along with the 2/3 cup of sugar and the yeast. You whisk the ingredients enough to combine and then set aside to allow the yeast to bloom (get foamy). This may take 5 to 10 minutes, depending on weather and temperatures.

Once the yeast is foamy, you add the softened butter, eggs and salt. I mix just enough until everything is incorporated and then add the powdered milk.

DSCN2637

I replace the mixer with a dough hook and start adding the flour by the 1/2 cup fulls. Once all the flour is in, I use a spatula to scrape down the sides and allow the dough to mix for 2 to 3 minutes at medium speed. I then change the speed to medium-high and allow the dough to knead for 10 to 12 minutes. You want a soft and supple dough so sometimes it takes 9 minutes and other times it takes 12. You don’t want to “toughen” the product so if unsure, just make sure you get 10 minutes in and you should be fine 🙂

DSCN2640

I flour the surface and plop my dough and begin to knead to form a nice ball that I can divide easily. Once that is done (takes maybe 30 seconds), I cut the dough in half and you may use a kitchen scale or “eyeball” it like I do. You take each half and form each into a nice ball. You then add each half to bowls that have been lightly buttered. Cover the bowls with plastic wrap and let the dough rise. The dough should double in size and this takes 1 to 2 hours at most.

DSCN2643

While the dough rises, you can begin with making the two different fillings.

Berry Filling:
5 1/2 ounces of fresh Strawberries
4 ounces of Blackberries (frozen)
3 ounces of Blue Berries

You may use what ever combination of fruit you desire and just keep in mind you want between 12 to 13 ounces.

1/4 cup of Sugar
1 teaspoon of Vanilla Extract
1 teaspoon of All-Purpose Flour
1 teaspoon of Corn Starch

Cut the large fruit you use, like in my place it would be the strawberries into wedges or bite size.

DSCN2646

I like to leave my other berries whole so they can be found within the rolls and change the taste with every bite.

DSCN2648

DSCN2652

Take a bowl and just mix everything together. Once everything is mixed, you may place the berry filling in the fridge covered.

DSCN2658

That easy!

Cinnamon Roll Filling:
1/2 cup of Sugar
2 teaspoons of Ground Cinnamon
5 to 7 “grates” of Fresh Nutmeg (or to taste and can also omit if not wanted)
1/4 cup of Unsalted Butter (softened)

DSCN2666

Take the dry ingredients and mix them in a bowl. You then add the butter to create a “paste-like” filling and you are done. I cover and keep it on the counter so the butter remains soft and easy to spread when needed.

DSCN2675

Get two 9 x 13 baking pans and lightly spray with cooking spray. I use Pam with flour.

DSCN2676

Once the dough has risen and doubled, you take one of them and scrape the dough onto a lightly floured surface.

DSCN2677

I then roll it out in to about a 10 x 14 rec-triangle.

DSCN2678

I add one of the above fillings above, in this case I started with the berry filling and then roll it.

DSCN2680

You should be left with a log that is about 24 inches long.

DSCN2681

I trim the edges and then cut the log in half and each half into 4.

DSCN2682

You should have about 8 rolls.

DSCN2684

DSCN2685

Cover pan with plastic and allow the dough to rise.

Rinse and repeat 🙂 with the Cinnamon filling. I decided I wanted smaller (mini) Cinnamon rolls so I cut them thinner. You can play with the sizes too!

Cinnamon filling spread onto dough-

DSCN2691

Cinnamon rolls cut smaller than berry-

DSCN2692

Cinnamon rolls placed in glass pan and covered with plastic-

DSCN2697

Dough Rise Note: This usually takes an hour for the cinnamon but the fruit take longer if you are using frozen or cold from the fridge. My berry ones took an hour and a half but it can take up to 2.

While the rolls rise, you can make the crumble topping for the berry rolls and the icing for the cinnamon rolls.

Berry Crumble top:
1/2 cup of All-Purpose Flour
1/4 cup of Sugar
1/8 teaspoon of Ground Ginger
2 tablespoons of Unsalted Butter (cold)
1 1/2 ounces of Cream Cheese Cold

DSCN2674

You just mix the dry ingredients and then incorporate the butter and cream cheese to make “crumbles”. If you over mix and create a dough, don’t worry as you can just drop chunks on top the rolls to resemble a crumble. Store your crumble in the fridge until needed

Cream Cheese Icing for mini Cinnamon Rolls:
8 ounces of Cream Cheese (softened)
Powder Sugar to sweetness you desire

I usually start with adding a 1/4 cup of powder sugar to the cream cheese in a mixer or just whisk by hand in a bowl. I taste and then determine if I want sweeter or not so you can control the sweetness!

Once the rolls have risen, preheat the oven to 375 degrees.

Cinnamon Rolls rise-

DSCN2698

Berry Rolls rise-

DSCN2701

Add the crumble to your berry version!

DSCN2702

Once the oven reaches temperature, you can bake each pan alone or side by side, you decide. It takes between 17 to 25 minutes to bake and if you notice over browning, just cover with foil until done. Best way to check for “done-ness” is seeing if the center of the rolls bounce back when slightly touched.

Berry Rolls baked-

DSCN2705

Cinnamon Rolls baked-

DSCN2707

When the rolls have baked, you allow them to cool a bit in the pan for about 15 to 20 minutes. You can then add the cream cheese icing to all and serve.

Note- I never add icing to all at first because I want them to be dry on top when stored in the fridge. I wrap them individually in plastic wrap once they have cooled. To serve later, unwrap and place roll on a plate and warm in microwave (10 to 20 seconds), then add the icing. The warmth will aid in helping the icing spread since you store it in the fridge until needed again. I do this to preserve the texture of the dough. When they are wrapped in plastic, if they had icing, everything sticks to the plastic and creates a mess anyways so this way it does not 🙂

Enjoy!

Triple Berry Rolls Pics-

DSCN2712

DSCN2714

DSCN2727

DSCN2718

Cinnamon Rolls Pics-

DSCN2711

DSCN2713

DSCN2717DSCN2716

Fresh Pineapple Upside Down Buttermilk Cake

DSCN2227

Everyone loves pineapple upside down cake. If someone doesn’t, then they haven’t had it made right. Little things make the biggest differences. Like, I always just used canned Pineapple. One day I had a fresh pineapple on the counter and decided to try my recipe with it. Best ever, and I have never gone back! One of my easier cakes to make and perfect during the warmer months. Bakes quickly and you can serve it warm, room temperature or even cold. The buttermilk keeps the cake moist and gives it a unique flavor that is not typically associated with cakes. So, I hope this breaks up the usual and you enjoy it as much as we do.

Let’s begin….

Glaze:

  • 4 tablespoons of Butter
  • 3 tablespoons of Maple Syrup
  • 1/2 cup of Brown Sugar

Fruit:

  • 1 whole fresh Pineapple (canned may be used if needed)
  • 6 Maraschino cherries

Cake Batter:

  • 1/2 cup Unsalted Butter (softened)
  • 2/3 cup of Sugar
  • 2 large Eggs (room temperature)
  • 2/3 cup of Buttermilk (room temperature)
  • 1 tablespoon of Maple Syrup
  • 1/2 teaspoon of Vanilla Extract
  • 1/2 a Vanilla Bean
  • 1 1/2 cups All-Purpose Flour
  • 1/2 teaspoon of Salt
  • 1/2 teaspoon of Baking Powder
  • 1/2 teaspoon Baking Soda
  • 1/4 teaspoon (or to taste) of Cinnamon and Nutmeg

First you start by cutting your pineapple slices and coring the rounds. Set those aside and begin making your glaze.

DSCN2119

DSCN2128

Add your butter, brown sugar and maple syrup to a nonstick pan.

DSCN2122

Over medium-low heat, you begin to dissolve the sugar.  I usually use a silicone spatula to make sure undissolved sugar crystals do not get stuck to the sides of the (non-stick) pan. Keep stirring and increase the heat slightly. You will reach a gentle boil as you stir and then continue cooking for about 45 seconds, and then remove the glaze from the stove.

DSCN2123

I take a large lasagna pan (sprayed with cooking spray)

DSCN2124

Pour the glaze carefully over and evenly.  Then place your pineapple slices carefully over the glaze.

DSCN2130

Next comes the cherries.

DSCN2133

Start your cake batter by first blending the unsalted butter with the sugar, until nice and fluffy.

DSCN2134

Add one egg and blend until it is incorporated into the mixture.

DSCN2135

Then add the second the egg and fully incorporate into the mixture.

DSCN2137

Follow with the buttermilk, maple syrup and vanilla. I tend to mix all three and pour them at the same time.  Pour only half of the mixture in.

DSCN2141

Follow by adding the 1/2 Vanilla Bean.

DSCN2144

Then comes the dry ingredients. I mix the flour, salt, baking soda, baking powder, cinnamon and nutmeg in a large bowl.

DSCN2151

You then take half of the dry ingredients and add it to the mixer. Mix well until everything is wet, remembering to scrape the sides of the bowl.

DSCN2153

I slowly then add the second half of my buttermilk mixture intermediately with the left over half of the dry mixture. I do this so I do not over whip the batter, since this tends to produce a dryer cake if you over beat it. You will end up with a nice smooth mixture by halving the wet and dry, and not over beating.

DSCN2154

Once everything is incorporated, I take the batter and drop spoonfuls into the pan with the glaze and pineapple. I do six large spoonfuls so I can get a nice even layer without disrupting the fruit’s placement.

DSCN2156

DSCN2157

Place in oven at 350 degrees for 35 minutes or until the cake is springy to the touch. You can use a toothpick to check if the cake is done too.

DSCN2162

The sides will be bubbling!

DSCN2164

Allow the cake to cool down for 15 minutes before flipping. I usually place a glass cutting board on top of the cake pan.

DSCN2199

Flip.

DSCN2203

Remove pan.

DSCN2208

I allow for it to cool a bit more and then start cutting, usually 10 minutes.

DSCN2222

Serve with ice cream or whipped cream if desired!

DSCN2226

You can store the cooled cut cake slices in the fridge (just wrap in plastic) and it holds very well. Enjoy!

DSCN2211

Easy-Peasy Chocolate Cake……under 1 hour from start to finish

I was inspired by an e-mail I received from King Arthur’s Flour called “Original Cake-Pan Cake Recipe”

I was in an experimenting mood plus short on time, so I dove into this recipe with my trusty notepad, pen and camera.  I always alter recipes because I feel there is so much sugar in the ones I find without any need.  I want to taste the ingredients like Chocolate, not the over the top sweetness, plus I also like to substitute ingredients for the ones I have in stock.  I am not going to buy Pastry Flour again for one recipe for it just to sit there and expire again.  Lesson learned!! 🙂  I doubled the cocoa powder on this one and I still was able to cut the sugar!

DSCN1932

Easy-Peasy Chocolate Cake

This cake can be done in just under 1 hour!!  It’s so easy and dairy free (minus the icing).  A great alternative for those busy days where you did not have the time to make anything and the best part, it’s delicious!  It’s also not a killer when it comes to calories because there is not a bunch of sugar and fats.
Batter:
6 1/2 ounces of All-Purpose Flour
4 ounces of White Sugar
1/2 cup of Cocoa Powder (unsweetened)
1/4 teaspoon of Salt
1 teaspoon of Baking Soda
1 teaspoon of Vanilla Extract
1/2 teaspoon of Espresso Powder (optional)
1/2 tablespoon of white Vinegar (trust me….you will not taste it, it is just to help the cake rise when it combines with the baking soda.  Want a higher rise?  Up the vinegar to 1 tablespoon)
1/4 of Vegetable Oil
1 cup of cold liquid (this can be milk, water, coffee, get creative).
I start with a bowl and add the flour, sugar, cocoa, salt and baking soda.  I use a whisk to combine all the ingredients.
DSCN1881
I did not have espresso powder but I know how coffee can punch up the chocolate’s flavor, so I got creative and used a Starbuck’s VIA packet I had received via mail for free.  It was in Italian Roast flavor but any flavor will do.
DSCN1884
I added the entire packet and again whisked it together.
DSCN1889
DSCN1891
I then added the wet ingredients, the oil and vinegar.  Now for my 1 cup of cold liquid, I added water, whole milk and then coconut milk until I had 8 ounces in total.  I figured the coconut milk would have less fat and it would add flavor.  My husband dislikes coconut anything but can tolerate it in products where it’s flavor is not present   I disclosed I was adding it and he knows it’s just me playing scientist again!
DSCN1892
I whisked everything until combined and I love that I just dirty one dish.
DSCN1897
I pour the batter into a square pan that is 8 x 13, which has been sprayed with PAM w/flour spray (just in case).  I bake the cake at 350 degrees for 30 minutes or until done.
DSCN1900
The cake will slightly rise but I wanted density with a smooth finish, so this is why I only added 1/2 tablespoon of vinegar.  You can add up to 1 tablespoon in total if you wish the effect of a slightly higher cake.
While the cake bakes, I decided I wanted a mousse-like fluffy frosting,  so I wash the same dish I used to make the cake and get started on making the frosting.  This cake is so delicious that if you do not feel like frosting, it does not need it.  You can sprinkle powder sugar when it cools or even pair it up with ice cream.
Frosting:
8 ounces of Cream Cheese (softened)
4 tablespoons of Unsalted Butter (softened)
1 tablespoon of Sour Cream
1 teaspoon of Vanilla
1 ounce of Powdered Sugar
1/8 of a cup of Cocoa Powder (unsweetened) *optional
Mini Chocolate chips (optional) to sprinkle on after
I start by using a hand mixer and blend the cream cheese and butter until creamy.
DSCN1901
This takes about 2 minutes.
DSCN1905
I then add the sour cream and vanilla and blend some more.  I add the powdered sugar and blend until nice and fluffy.
DSCN1906
DSCN1908
As I was doing this, I asked my Husband if he wanted just a light buttered cream cheese frosting or if he was in a chocolate/chocolate mood?  He opted to go all the way and wanted chocolate.  I added 1/8 of a cup of cocoa powder and finished the frosting with the blender.  You can do what fits your mood and taste buds best!
DSCN1910
DSCN1914
I take the cake out and cool it down.  It’s not a huge cake so it took 20 minutes to cool enough to be put in the fridge.  I left it in the fridge, uncovered for another 20 minutes.  It was a cold day and our fridge is set at a nice 35 degrees, so stuff cools down quick.
DSCN1920
DSCN1918
Once cooled, I spread the frosting and then sprinkle with mini chocolate chips.
DSCN1921
DSCN1930
That easy and it went well after dinner with the coffee crusted grilled tri-tip my Husband made on the barbeque.  I figure he got to play with coffee so I wanted to also.  Enjoy!

Herbs de Provence & Chives Rolls…. Cheddar Cheese, Poppy Seed, and Sesame Seed Versions

DSCN1788

I wanted to make a new recipe this last Easter when it came to rolls and I had planned to test several recipes out but then the day came, and I needed something fast because I had no back-up plan.  It is difficult to always know what guests like or dislike because some just go with it to be polite.  I wanted a recipe that pleased all and on Easter morning this is what I made.  Who said you can’t think on the fly on a holiday?  I was also influenced by a bushy Chive plant I have in a pot, which was getting taller and fuller.  I see it from my kitchen so it was sort of waving at me for attention 🙂

Rolls:
1 cup of Whole Milk
2 1/2 teaspoons of Active Dry Yeast
2 tablespoons of White Sugar
1 tablespoon of Honey (I used a Orange Blossom variety)
1 Egg at room temperature (whisked)
6 1/2 tablespoon Unsalted Butter (melted), you will use about 1 stick in the end.
3 1/2 cups of All-Purpose Flour
1 1/4 teaspoon of Kosher Salt
1 teaspoon of Herbs de Provence Herbs (dry)
Filling:
1/4 cup or to taste of fresh Chives
Basting:
1/2 teaspoon of Olive Oil
1 teaspoon of Unsalted Butter (soften)
Toppers:
1/2 cup of Cheddar Cheese*
Sesame Seeds
Poppy Seeds
*Don’t have seeds or don’t like them, just up the cheese amount to 3/4 cup.  You can even mix cheeses if Cheddar is not all you want.
<p>
You begin by heating up the 1 cup of milk until warm.  I tend to need to give my cup a quick 30 seconds in the microwave but I know some take more or less.  I always shoot to aim between 105 to 110 degrees.  I then add the yeast, sugar, and the honey.  I mix the ingredients together with a spoon.  My oven has a “proofing” mode so within 5 minutes at 105 degrees, the yeast is activated and foaming.  You want it to expand and build a good amount of foam, so it may take about 10 minutes if it is cool and on the counter.
DSCN1735
I then empty the cup into my mixer’s bowl that has the dough hook attached.  I add the egg and 6 1/2 tablespoons of unsalted melted butter.
DSCN1739
On low, I mix everything until it’s incorporated, stopping a few times to scrape the bottom and edges.
DSCN1740
I add the salt and Herbs de Provence to the flour.
DSCN1732
In small increments, I add the flour mix, again stopping to scrape down with a spatula any ingredients that are trying to rebel :).  After I added all the flour, I mix on low for about 2 to 3 minutes.
DSCN1741
I then increase the speed to medium and knead until a soft and smooth dough forms.  This takes about 10 to 12 minutes.
DSCN1743
I transfer the dough to a floured surface and work it flat, to about a 10 to 12 inched square.
DSCN1744
You fold one third of the dough into the center and then the other third (from the top) over.
DSCN1745 DSCN1746 DSCN1747
It’s sort of like folding a letter in how you fold the flaps.  Turn the dough and fold again until you are left with a square (small one).  I take some of the butter and butter a large bowl.  I place the dough square in the bowl, cover with plastic wrap, and then proof for 1 hour.  You pretty much want it to double at least in size.
DSCN1748
I take more of the left-over butter and butter a lasagna dish (any baking pan) that is 9 x 13 inches in size.
Once the dough has proofed, I take it out of the bowl and dump it onto a floured surface.
DSCN1753
I roll out the dough to a 15 inch square and sprinkle on the fresh chives.
DSCN1756
Begin to roll tightly from the bottom up to make a log.  Just like you would cinnamon rolls.
DSCN1759
DSCN1764
You then take a floured knife or a dough scraper and start slicing.  I was able to yield 16 buns on my first take, but you will get between 14 to 15 if you measure right.  I always make small ones that I call “taste testers” 🙂 and these are usually the two corners of the log.
DSCN1766
I placed the buns in the buttered lasagna dish and then covered it with plastic wrap, which I lightly rubbed with olive oil in case the wrap wants to stick to my buns when they are proofing.  You can use butter too if you desire.
DSCN1768
Allow the dough to proof for about an hour.  You are aiming for them to like like airy pillows.
DSCN1774
Preheat the oven to 375 degrees.  Remove the plastic wrap and bake for 12 to 15 minutes.
DSCN1783
Remove the buns from the oven and mix the basting ingredients of the olive oil and softened butter.  Baste the buns and then come the toppers.
DSCN1773
I opted for part cheddar cheese, a row of sesame and a row of poppy seeds.  The basting mix allows the seeds to stick but also adds a great flavor to the buns.
DSCN1785
Put the buns back in the oven and bake for 10 to 12 minutes.  If you notice over browning, just cover with foil to prevent any burning.
Take the buns out and I noticed I had left-over baste, so I basted the cheesy ones so they would shine pretty.  Allow to cool a bit in pan and then you start serving.  They pull away from each other whole, so no worries there but you may also use a knife if you wish.  Sometimes the cheese can make them unite but not enough that they can’t pull away.
DSCN1789
To store, I waited until they cooled completely and then wrapped them with plastic wrap and stored them in the fridge.  They last great and you just take them out when you want one and allow them to come down to room temperature or give them a warm up in the oven.  They go great with a simple salad to what we had for Easter, lamb with a Pomegranate glaze.
DSCN1794
Next week comes the sweet version I made of these with some tweaks.  I had left over Pomegranate glaze from the lamb that needed to be used plus I was craving pecans with maple, so I made two different sweet versions!
Enjoy!

Strawberries~N~Cream Squares

DSCN1657

Strawberries~N~Cream Squares

Being that Easter is approaching and we are embracing Spring, I wanted something light that would showcase the fruit.  I also wanted something that was quick because I again purchased strawberries and picked for the perfect case, to then just forget them in fridge for 3 days!

My crust is identical to the one I made for the Key Lemon bars and since it was a hit, not changing it!  It’s a shortbread crust and please view that recipe here https://samplesandfreebiesgallery.wordpress.com/2013/03/14/welcome-the-first-day-of-spring-with-key-lemon-cream-bars/ for details on preparation but I will note the ingredients needed.
Crust: 
1 stick of Salted Butter (softened)
1 stick of Unsalted Butter (softened)
110 grams of Powder Sugar
2 teaspoons of Vanilla Extract
3 drops of Almond Extract
300 grams of All-Purpose Flour
Vanilla Bean Cream Filling:
3 5/8 ounces of Mascarpone cheese (softened)
8 ounces of Cream Cheese
1 1/2 tablespoons of White Sugar
3/4 ounces of Sweetened Condensed Milk
1 teaspoon of Vanilla Extract
1/4 Vanilla Bean
2 tablespoons of All-Purpose Flour
You soften both cheeses by leaving out until soft or like me, I use the microwave in the defrost setting.
DSCN1590
DSCN1592
With a mixer or by hand with a whisk, you blend until combined.  You add the white sugar and sweetened condensed milk and again whip, making sure you are mostly lump free.  Then you add both the vanilla extract, and 1/4 of the scrapings from a Vanilla Bean.
Again, whisk until combined.  Last comes the flour and I usually do one tablespoon at a time in order to keep everything nice and smooth.
Fruit Filling:
5 1/2 ounces of Strawberry preserves
DSCN1596
I made my own using the strawberries I purchased before they went bad.  I just cook them down on the stove with some water, a teaspoon of sugar (more or less depending how sweet the berries are), and a teaspoon of fruit pectin.  I add a used Vanilla Bean and cook about 15 minutes or when the product reached the thickness I desire.
Topping:
2/3 cup of All-Purpose Flour
1/4 teaspoon of ground Ginger
1/4 teaspoon of Cinnamon
A couple gratings of fresh Nutmeg
1 tablespoon, plus 1 teaspoon of White Sugar
3 tablespoons of Unsalted Butter (cold)
To make topping, you combine all the dry ingredients and when incorporated, you then start to add the cold butter until you get crumbles.  Very easy to do by hand or even with a fork….whatever works best for you.  You can also add less or more of the spices to fit your taste.
Once you have pre-baked the crust, you allow for it to cool down just a bit (10 minutes).
DSCN1601
You add the Vanilla Bean cream filling and just spread out evenly.
DSCN1604
I then add the Strawberry Filling and make swirls so everyone gets a good helping of fruit and cream filling, it also looks pretty.  Short on time….you can stop here and bake and still have a great final product!
DSCN1605
If you have a little time, you then make your topping and sprinkle over before baking.
DSCN1609
Once everything is assembled, you simply put it in the oven and bake at 350 degrees for 20 minutes and then at 375 degrees for 10 minutes.  Test for doneness by simply measuring the jiggle but keep in mind like brownies, you do not want to wait until firm.  This is sort of like a cheesecake and will continue to cook when you take it out.  I cooled it down 2 hours outside and 2 hours in the fridge.
DSCN1611
I then cut different sized squares because sometimes we want to eat more or less.
DSCN1612
You can serve as-is or with vanilla bean ice cream.  Enjoy!
DSCN1659

DSCN1658

Previous Older Entries Next Newer Entries